Gitlab CI Series - Using PHP Container for development and Gitlab CI for testing
This tutorial expects you to have a basic understanding of Symfony and Docker and a running Gitlab CI with a Docker-Runner.
You can find all sources at https://gitlab.cwd.at/cwd/demo-project
Environment
We use Linux as our system of choice. If you use Mac or Windows be prepared for some major slowdowns. Docker on Mac or Windows does not have the HDD I/O speed you have on Linux with the onion overlay filesystem.
It may be an option to use a VMWare Player and run a linux WITH docker in a virtual machine and also have your IDE in it. I used this setup for a few years without problems.
Start a new project
So you want to develop php via docker containers. Which means you dont have a local php on your system. How do you start a project? Quiet easy actually:
1
| docker run --user=1000 -v $(pwd):/var/www/html -w /var/www/html dockerhub.cwd.at/docker/php/cli:7.4.0 composer create-project symfony/website-skeleton demo-project
|
Lean back and enjoy watching composer install the symfony skeleton.
Dockerize the project
As we now have the project ready lets add a docker-compose.yml with our services we need to run the project. (I stick to a simple LAMP stack, but of course you can use postgres, oracle ro whatever you need too)
 1
 2
 3
 4
 5
 6
 7
 8
 9
10
11
12
13
14
15
16
17
18
19
20
21
22
23
24
25
26
27
28
29
30
31
32
33
34
35
36
37
38
39
40
41
42
43
44
| version: '2'
services:
mysql:
image: mariadb:10.3
volumes:
- /var/lib/mysql
environment:
MYSQL_PASSWORD: dev
MYSQL_USER: dev
MYSQL_DATABASE: project
MYSQL_ALLOW_EMPTY_PASSWORD: 1
php:
image: dockerhub.cwd.at/docker/php/fpm-xdebug:7.4
working_dir: /var/www/app
user: "$USERID"
volumes:
- .:/var/www/app
environment:
PHP_XDEBUG_ENABLED: 1
PHP_IDE_CONFIG: serverName=docker.local
XDEBUG_CONFIG: remote_host=172.17.0.1 remote_port=9000 remote_connect_back=0
apache:
image: httpd:2.4-alpine
volumes:
- .docker/apache/apache2.conf:/usr/local/apache2/conf/httpd.conf:ro
- .:/var/www/app
ports:
- 8080:80 # Please change to free port!
phpmyadmin:
image: phpmyadmin/phpmyadmin:latest
environment:
PMA_HOST: mysql
PMA_USER: dev
PMA_PASSWORD: dev
ports:
- 8081:80
mailcatcher:
image: yappabe/mailcatcher:latest
ports:
- 8082:1080
|
$USERID is a export of the $UID system Variable - I don’t know why but you can’t use $UID directly. It makes sure php runs under the same user id as i do - so all files php is creating (like composer) are accessable by me in the IDE.
The other special thing is the Apache Config - we bind mount our config into the container. The only real difference to the default one is the virtualhost definition.
So copy the container config to .docker/apache/apache2.conf like:
1
2
| mkdir -p .docker/apache
docker run --rm httpd:2.4 cat /usr/local/apache2/conf/httpd.conf > .docker/apache/apache2.conf
|
Then copy this virtual host config to the end of the file:
 1
 2
 3
 4
 5
 6
 7
 8
 9
10
11
12
13
14
15
16
17
18
19
20
21
22
23
24
25
26
27
28
29
30
31
| <VirtualHost *:80>
DocumentRoot /var/www/app/public
<Directory /var/www/app/public>
Require all granted
AllowOverride None
Options FollowSymLinks
<IfModule mod_rewrite.c>
DirectoryIndex index.php
Options -MultiViews
RewriteEngine On
RewriteCond %{REQUEST_FILENAME} !-f
RewriteRule ^(.*)$ index.php [QSA,L]
</IfModule>
<IfModule setenvif_module>
SetEnvIfNoCase ^Authorization$ "(.+)" HTTP_AUTHORIZATION=$1
</IfModule>
<FilesMatch ".+\.ph(p[3457]?|t|tml)$">
SetHandler "proxy:fcgi://php:9000"
</FilesMatch>
<FilesMatch ".+\.phps$">
Require all denied
</FilesMatch>
<FilesMatch "^\.ph(p[3457]?|t|tml|ps)$">
Require all denied
</FilesMatch>
</Directory>
</VirtualHost>
|
No lets bring up our containers
Point your browser to http://localhost:8080 and you should be created by the Symfony Welcome page. \
Lets update the .env.local with the correct config vars:
1
2
3
4
| APP_ENV=dev
APP_SECRET=43db4c69b1c581489f70c4512191e484
DATABASE_URL=mysql://dev:dev@mysql:3306/project?serverVersion=5.7
MAILER_DSN=smtp://mailcatcher:1025
|
On http://localhost:8081 you will find a phpmyadmin to your default database.
On http://localhost:8082 you will find mailcatcher - all mails are delivered there for your inspection.
To use composer or bin/console you will have to use docker-compose, the command line would be:
docker-compose exec php composer info
but writing this all the time is boring - you can setup yourself a handy little alias - add this to your .bashrc:
alias dep='docker-compose exec php '
so from now on you can write
Lets add phpunit and integrate it in phpstorm:
dep composer require --dev phpunit
To have something to test - create some Example Classes
dep bin/console make:controller DemoController
dep bin/console make:functional-test DemoTest
Call http://localhost:8080/demo, you should see the output of the Demo controller/view.
Now, create a phpunit.xml.dist file with our default config:
 1
 2
 3
 4
 5
 6
 7
 8
 9
10
11
12
13
14
15
16
17
18
19
20
21
22
23
24
25
26
27
28
29
30
31
32
| <?xml version="1.0" encoding="UTF-8"?>
<!-- https://phpunit.de/manual/current/en/appendixes.configuration.html -->
<phpunit xmlns:xsi="http://www.w3.org/2001/XMLSchema-instance"
xsi:noNamespaceSchemaLocation="http://schema.phpunit.de/6.5/phpunit.xsd"
backupGlobals="false"
colors="true"
bootstrap="config/bootstrap.php"
>
<php>
<ini name="error_reporting" value="-1" />
<server name="APP_ENV" value="test" force="true" />
<server name="SHELL_VERBOSITY" value="-1" />
<server name="KERNEL_CLASS" value="App\Kernel" />
</php>
<testsuites>
<testsuite name="Project Test Suite">
<directory>tests</directory>
</testsuite>
</testsuites>
<filter>
<whitelist>
<directory>src</directory>
</whitelist>
</filter>
<listeners>
<listener class="Symfony\Bridge\PhpUnit\SymfonyTestsListener" />
</listeners>
</phpunit>
|
Open tests/DemoTest.php and replace it with this:
 1
 2
 3
 4
 5
 6
 7
 8
 9
10
11
12
13
14
15
16
| <?php
namespace App\Tests;
use Symfony\Bundle\FrameworkBundle\Test\WebTestCase;
class DemoTest extends WebTestCase
{
public function testSomething()
{
$client = static::createClient();
$crawler = $client->request('GET', '/demo');
$this->assertResponseIsSuccessful();
$this->assertSelectorTextContains('h1', 'Hello DemoController! ✅');
}
}
|
Time to test phpunit is working
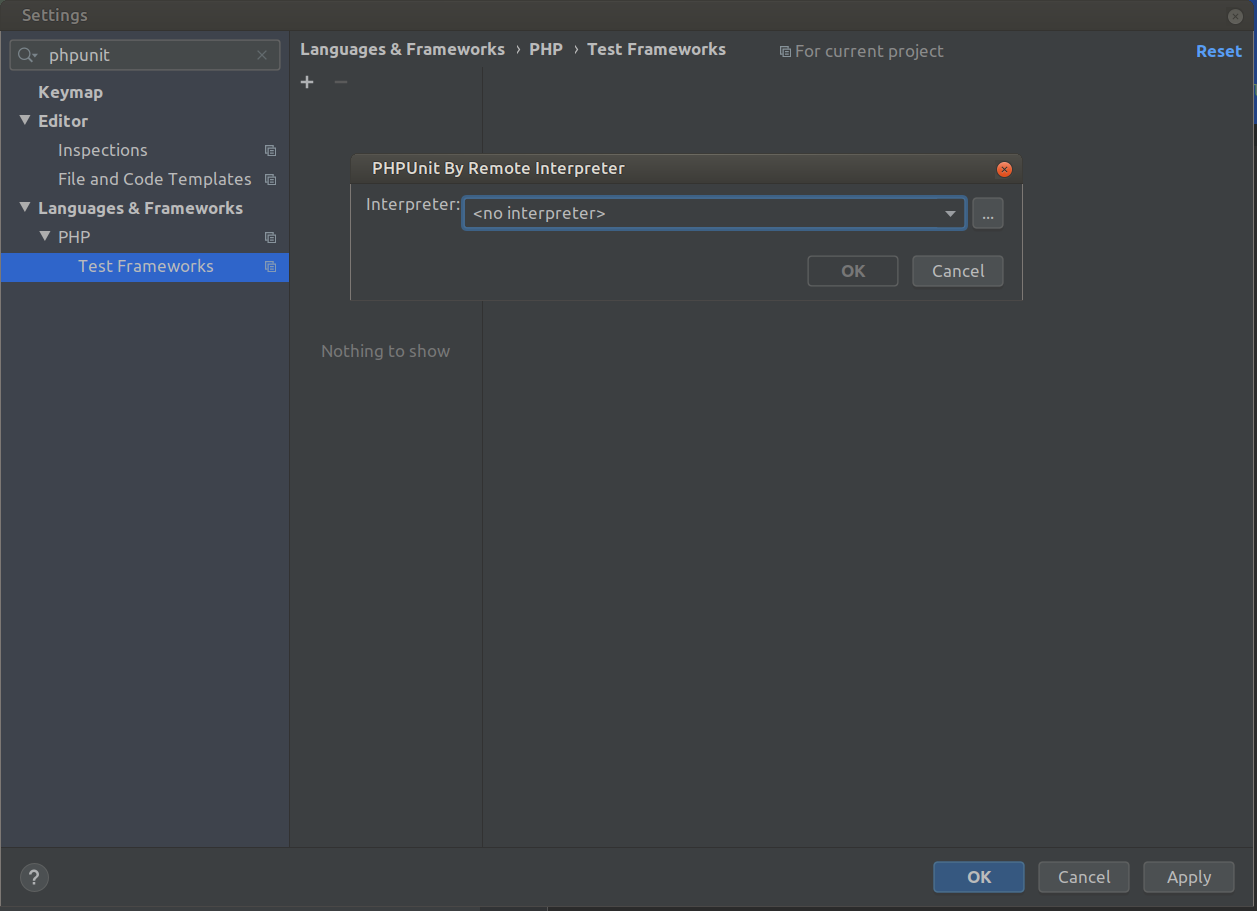
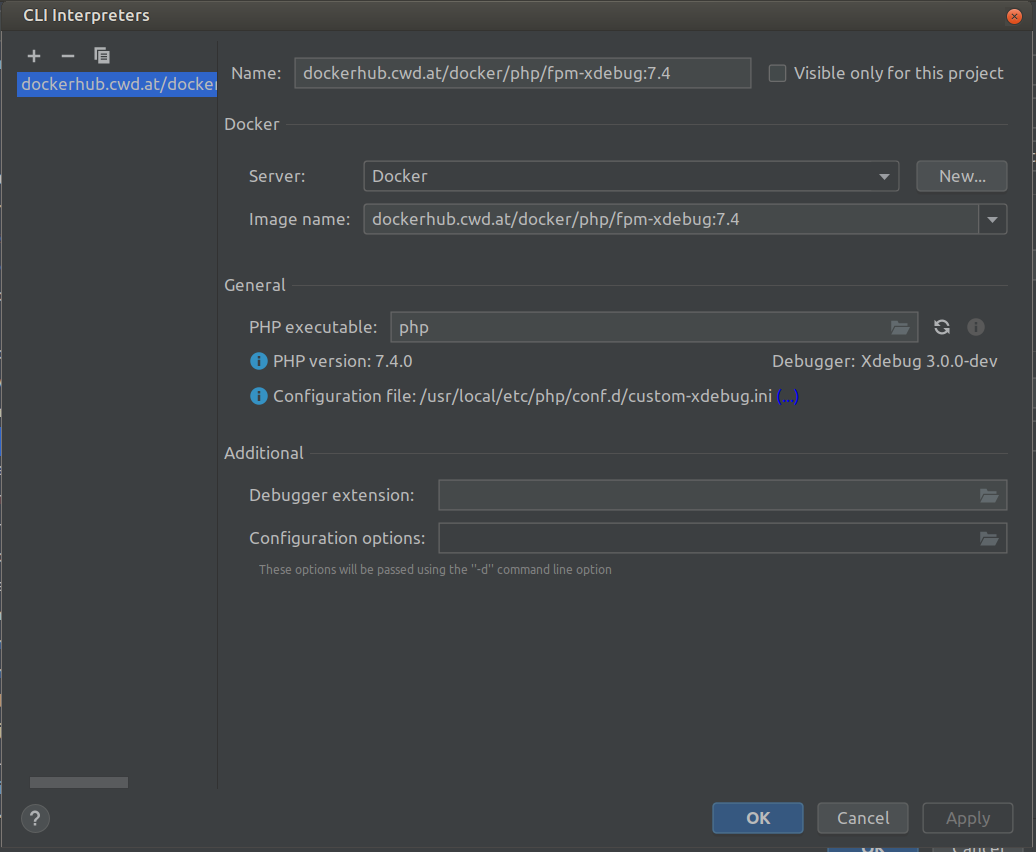
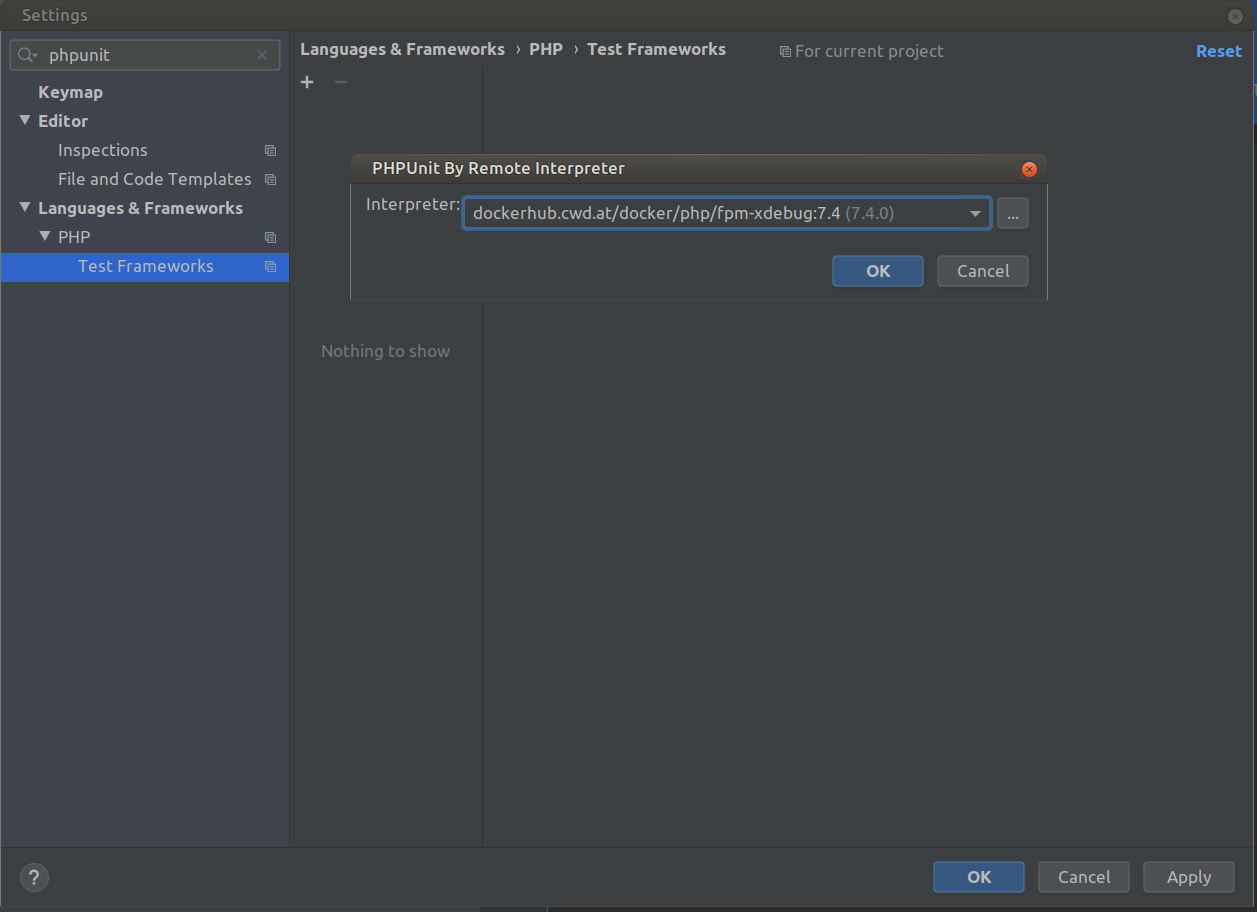
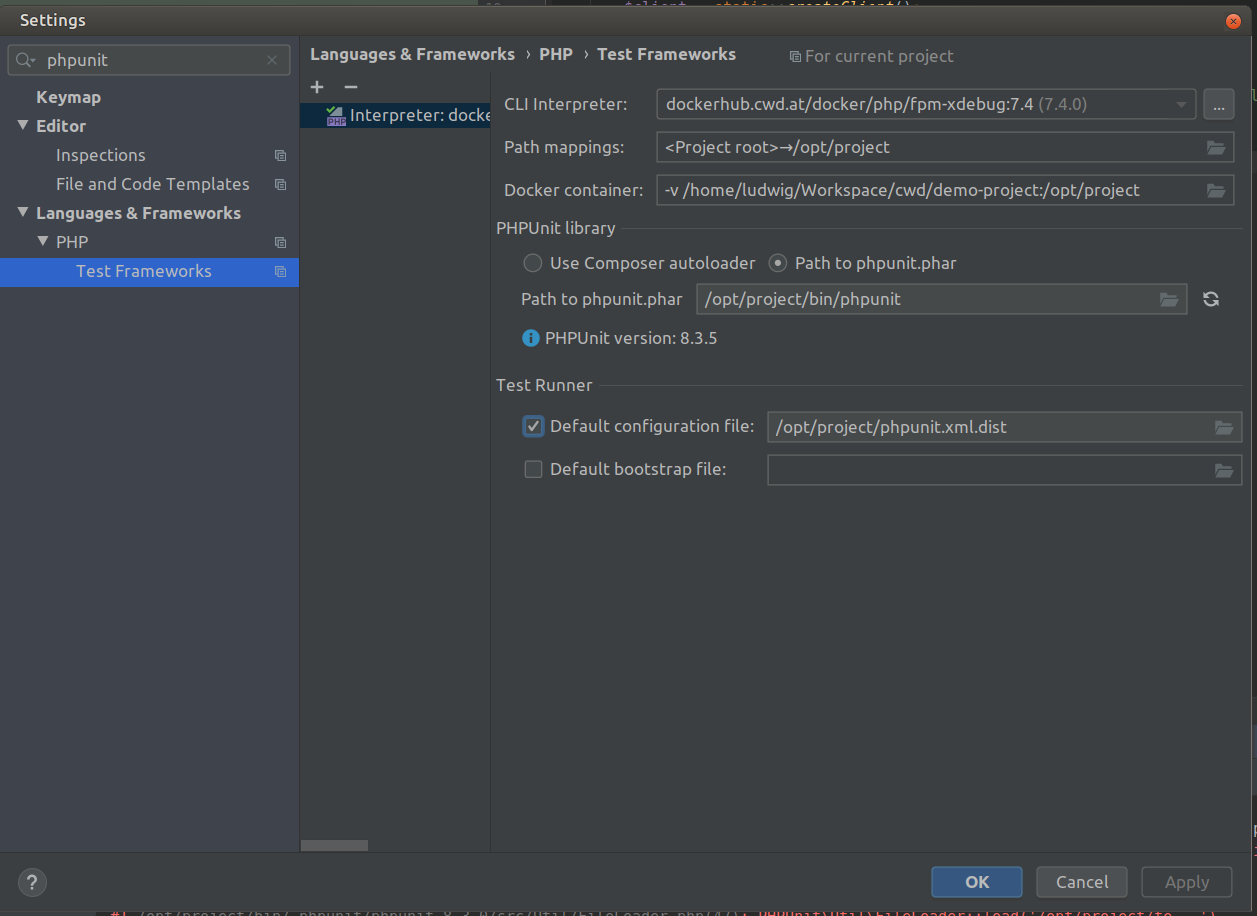
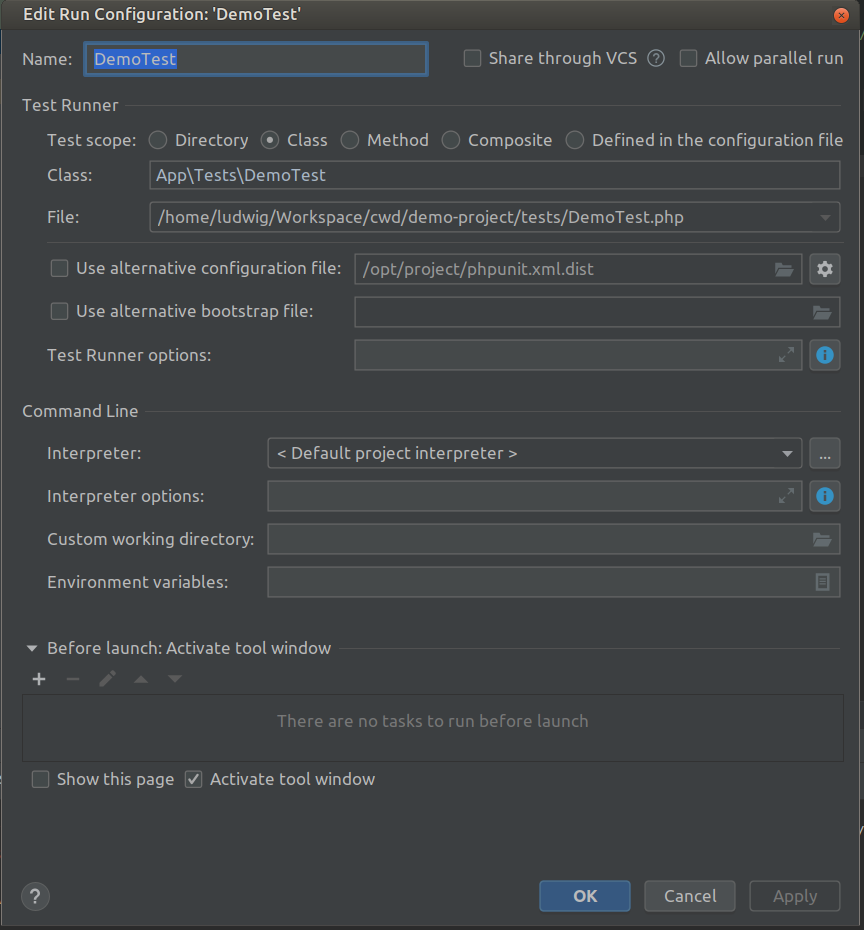
Looks good - now configure phpstorm to to the same:
Open the settings and configure a remote php interpreter on a docker server - this screenshots should help you:
\
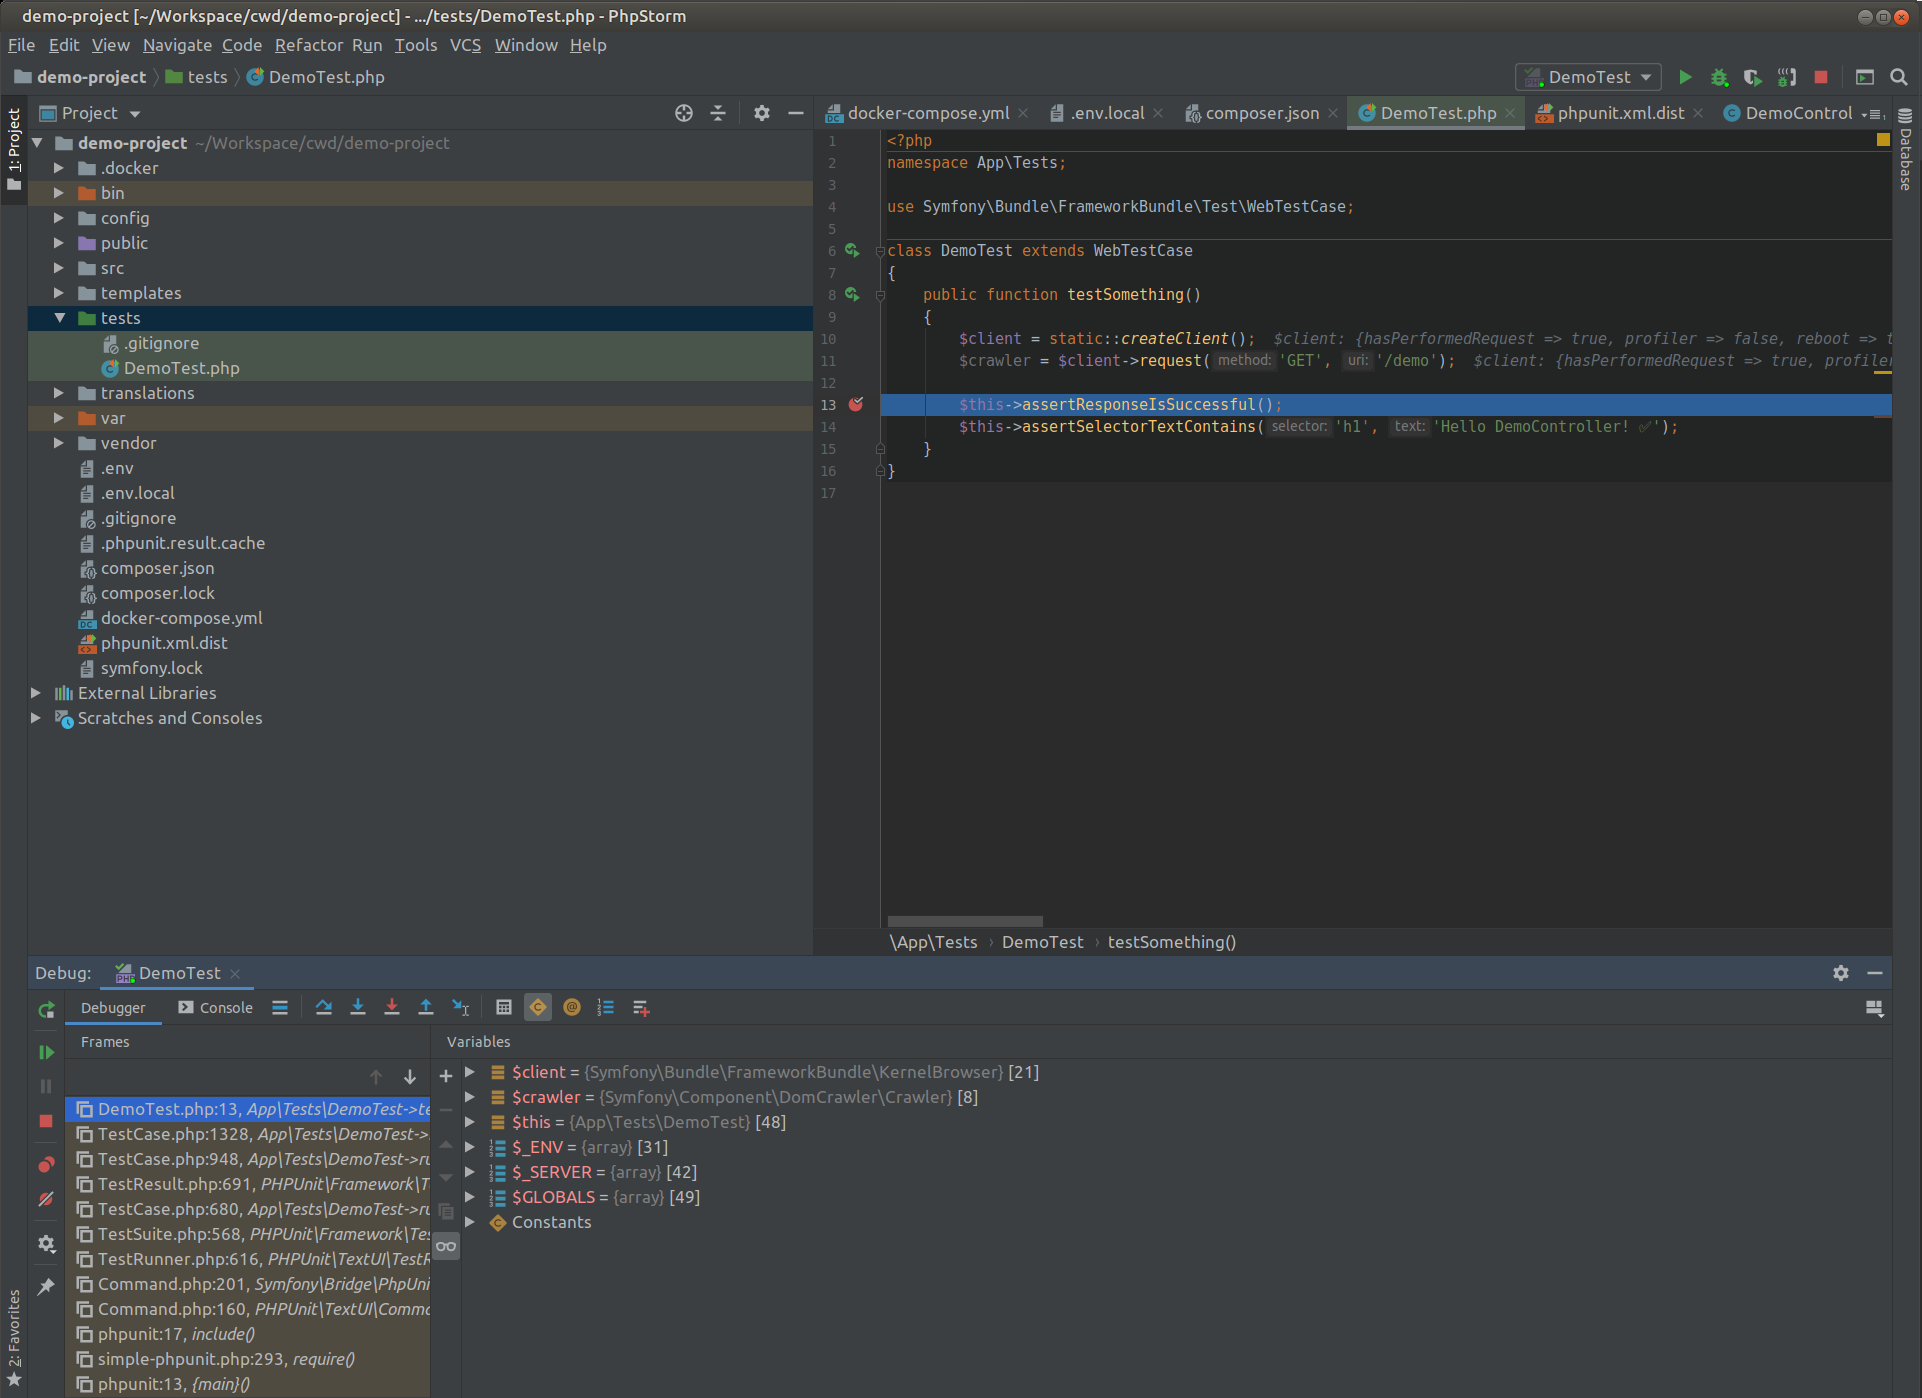
With the env settings in the docker-compose.yml we even can use xdebug to step through the code:
 \
\
Gitlab CI Continous Testing
Time to add a .gitlab-ci.yml to our project to let Gitlab run our demo test-suite.
 1
 2
 3
 4
 5
 6
 7
 8
 9
10
11
12
13
14
15
16
17
18
19
20
| stages:
- test
variables:
COMPOSER_ALLOW_SUPERUSER: "1"
COMPOSER_DISABLE_XDEBUG_WARN: "1"
.php_template: &php_definition
tags:
- docker
before_script:
- export APP_ENV=test
- composer install --prefer-dist --ansi --no-progress --no-suggest
script:
- php -d zend.enable_gc=0 bin/phpunit -c ./phpunit.xml.dist --colors=never
stage: test
test:php7.3:
<<: *php_definition
image: dockerhub.cwd.at/docker/php/cli-xdebug:7.3
|
As soon as you push it to Gitlab - a new Pipeline is created and run.
Lets have some fun and extend our config to create codecoverage and display the coverage in merge requests.
The new .gitlab-ci.yml looks like:
 1
 2
 3
 4
 5
 6
 7
 8
 9
10
11
12
13
14
15
16
17
18
19
20
| stages:
- test
variables:
COMPOSER_ALLOW_SUPERUSER: "1"
COMPOSER_DISABLE_XDEBUG_WARN: "1"
.php_template: &php_definition
tags:
- docker
before_script:
- export APP_ENV=test
- composer install --prefer-dist --ansi --no-progress --no-suggest
script:
- php -d zend.enable_gc=0 bin/phpunit -c ./phpunit.xml.dist --coverage-text --colors=never
stage: test
test:php7.4:
<<: *php_definition
image: dockerhub.cwd.at/docker/php/cli-xdebug:7.4
|
Go to gitlab - open the CI/CD Settings and in General pipelines set Test coverage parsing to ^\s*Lines:\s*\d+.\d+\%
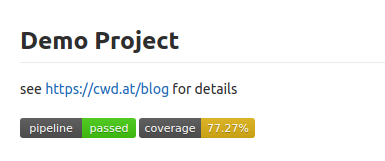
You can also add some badges to your project - see the Pipeline status section under the settings.
[](https://gitlab.cwd.at/cwd/demo-project/commits/master)
[](https://gitlab.cwd.at/cwd/demo-project/commits/master)
let the pipeline run and your readme shows your line coverage:
That’s it for today. In the next article we build the project as docker container and deploy it to an docker enabled host.


 \
\